Add a header image to your blog
You can do this. You need to already know: how to reach your Theme files and the Custom CSS file. You also need to have prepared a suitable image.
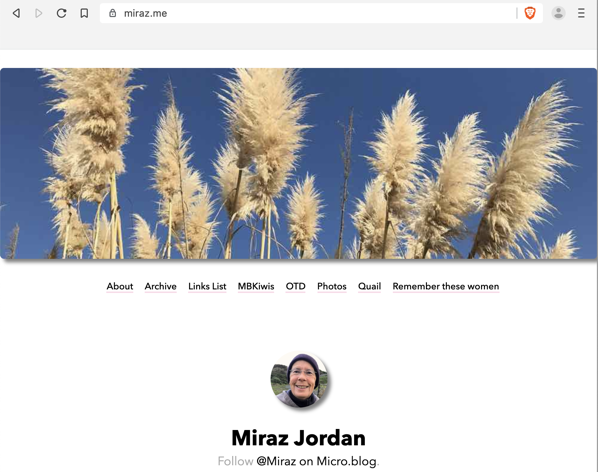
I have a blog for folks interested in our local community — the beach where I live. As it’s a beautiful place I’d like to use a photo at the top of the pages. Many people would call this a header image, but for this tutorial I’ll refer to it as a banner, so as not to confuse it with the header part of the page that contains the title of the blog and other information. See Head, header, heading.
Caveat: I’ve only tested this with the Arabica theme my Love Waikawa Beach blog uses. Other themes may need slightly different instructions.
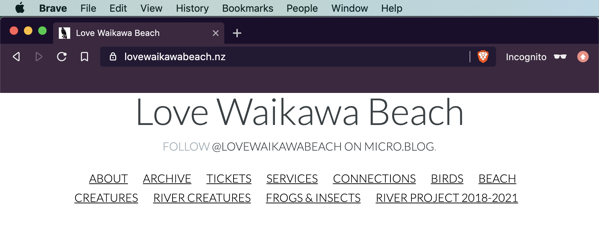
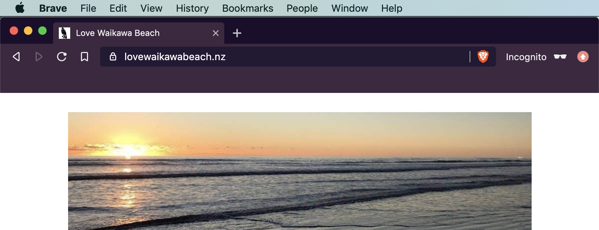
Love Waikawa Beach blog before the banner.
We’re going to add the banner image using an additional file, though it could also be added directly to the files that control the Home Page and other pages.
In addition, we need to edit one file and set up some CSS.
Step by step, copy and paste — it’s not too hard.
This is what we’ll do:
- Upload the prepared image, then copy and save the URL.
- Make a new theme page and paste in the code, then save.
- Paste some extra code into the page that lists posts, then save.
- Edit the Custom CSS to make it look better.
Upload the prepared image and copy the URL
- Prepare a suitable image. Mine was 929 pixels wide by 237 pixels high.
- Upload the image to your blog.
- Control click on the uploaded image and copy the image URL.
- Save that address somewhere as you’ll need it later.
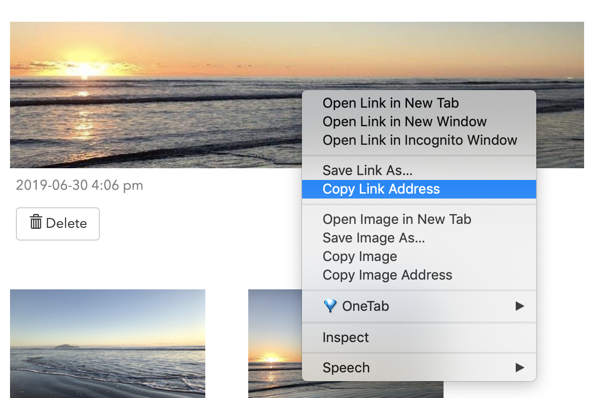
Copy the uploaded image address.
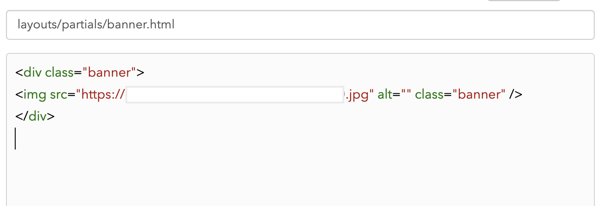
Make a new Theme page called layouts/partials/banner.html
- Go to the page that lists all your theme files.
- Click the New Template button. A new, empty, template page opens.
- In the empty name area at the top paste
layouts/partials/banner.html - In the main part of the page paste the code below. Replace the part that says
ImageURLwith the address for the image. - Click the Update Template button. The new template is saved and you’re returned to the list of templates.
The code to paste in the body of the new page. Replace the part that says ImageURL with the actual address for the image:
<div class=“banner”>
<img src=“ImageURL” alt=“” class=“banner” />
</div>
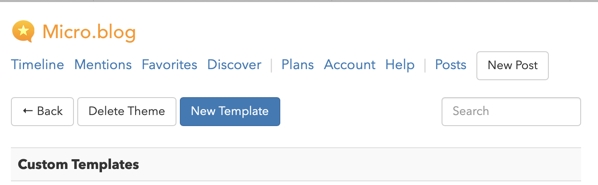
New Template button.
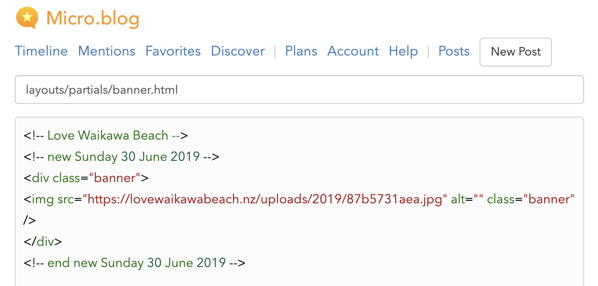
Love Waikawa Beach banner partial, with extra comments.
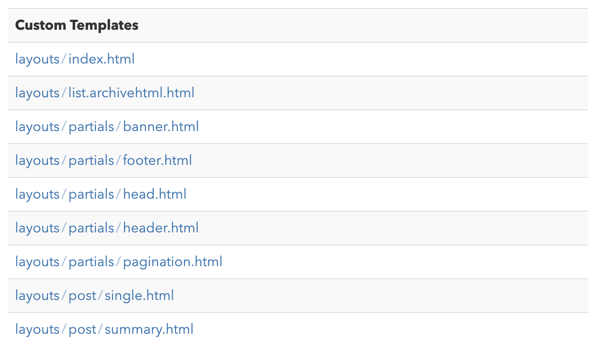
Love Waikawa Beach list of custom templates.
Paste additional code into layouts/partials/header.html
Note: In the Arabica theme you need layouts/partials/header.html. Other themes could name their header files differently or incorporate them into other files. In Arabica the header.html file is included in all other pages, so adding an item here will add it everywhere.
- Go to the page that lists all your theme files.
- Click the
layouts/partials/header.htmlpage to edit it. The page opens. - At the top, you should see something like:
<header class=“main-header”>. - Press Return after the end of that line to create a blank line.
- Paste in
{{ partial “banner.html” . }}(that’s all). - Click the Update Template button. The new template is saved and you’re returned to the list of templates.
That piece of code calls up the other page we just created and includes it in any page a visitor is viewing, if that page is based on the template we’ve added this code in to.
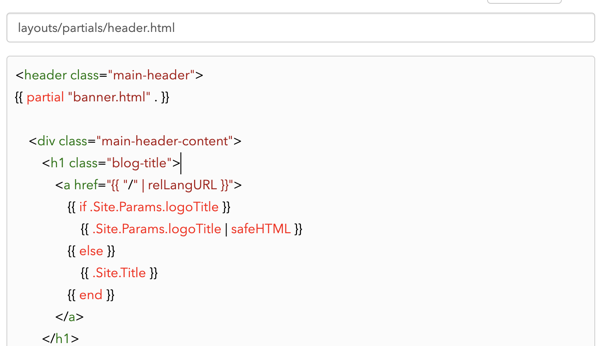
The banner code included in header.html.
There. You’ve now added the banner image to your Home Page. Visit your Home Page and refresh it to see the change. Try some other pages too. If the banner image doesn’t appear on other pages you’ll have to add the {{ partial “banner.html” . }} code to more of the theme files. Ask for help if you can’t work out where to add the code.
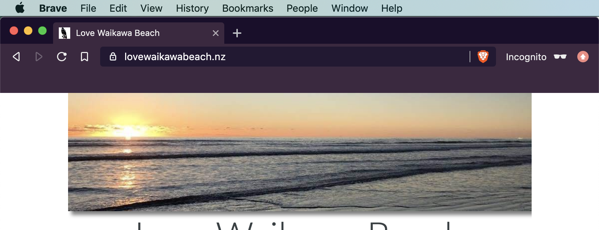
Love Waikawa Beach blog with banner, but notice the gap.
You may notice though that the banner image isn’t in exactly the right place. That’s where CSS comes in. I wanted to have my banner image butting right up against the top of the page.
Style the banner image
In the code above we assigned a class to the chunk of code that contains the banner: banner. We can use that to make sure the image is correctly placed. In my Custom CSS file I added this:
/* banner image */
.banner img {
  width:100%;
  max-width: 969px;
  padding-top:0;
  margin-top:0;
}

.main-header {
  padding-top:0;
  margin-top:0;
}
That set the banner image to be as wide as the rest of the page (100%) and it removed any padding or margin above the image. It then goes on to make sure the main-header that contains the banner image also has no padding or margin above it.
Love Waikawa Beach banner now buts up against the top of the page.
You may need or want different CSS coding for your blog’s banner image. Ask for help if you don’t know what you need.
Sometimes the hardest thing about all this is forcing your blog to refresh properly. While writing this tutorial I had to switch to a different browser with an Incognito window and refresh there for the changed CSS to be picked up.
Extra notes
One person found that when copying the code from this tutorial the speech marks all became curly (“ ”) instead of straight (" "). That didn’t happen for me, but watch for it causing problems for you.
The banner image of green characters at the top of this blog uses a different method. I did that before I’d figured out how to do it the way explained above. This one uses a background image, with the text below it shifted down a bit.
My personal blog uses the Marfa theme. I did an experiment that demonstrated my quick effort would need a lot more work. I added the layouts/partials/banner.html file as described above. Then I found I needed to edit layouts/_default/baseof.html rather than a header file. The results of that quick experiment were terrible and I removed the image again. As a proof of concept though, it worked.
My blog banner coding.
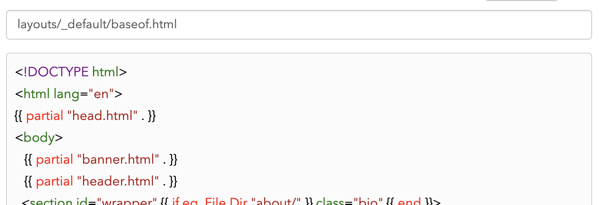
I edited baseof.html.
My blog banner is way too big and isn’t in keeping, but it did work.