Link to more blog pages with pagination
You can do this. You need to already know: how to reach your Theme files and the Custom CSS file.
When visitors reach the bottom of the Home Page on my personal blog, there's nowhere to go. I'd like them to be able to see another page, of older posts, and then another, if they wish.
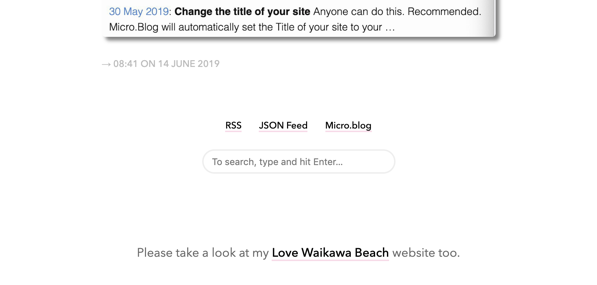
Bottom of the Home Page on my personal blog.
My personal blog uses the Marfa theme. Other themes do offer pagination controls. To add pagination is straightforward: copy the appropriate code, and paste it into the appropriate place, then tidy up the appearance with some CSS.
I found the pagination code in the Default theme. We're going to add the page numbers as that theme does, using an additional file, though they could also be added directly to the file that controls the Home Page.
In addition, we need to edit one file and set up some CSS.
Step by step, copy and paste — it's not too hard.
This is what we'll do:
- Make a new theme page and paste in the code, then save.
- Paste some extra code into the page that lists posts, then save.
- Edit the Custom CSS to make it look better.
Make a new Theme page called layouts/partials/pagination.html
- Go to the page that lists all your theme files.
- Click the New Template button. A new, empty, template page opens.
- In the empty name area at the top paste
layouts/partials/pagination.html - In the main part of the page paste the code below.
- Click the Update Template button. The new template is saved and you're returned to the list of templates.
The code to paste in the body of the new page:
{{ $pag := $.Paginator }}

<nav id="post-nav">
     {{ if $pag.HasNext }}
        <span class="older">
            <a href="{{ $pag.Next.URL }}" title="Older Posts">
                <span class="arrow">←</span> Older Posts
            </a>
        </span>
    {{ end }}
   {{ if $pag.HasPrev }}
        <span class="newer">
            <a href="{{ $pag.Prev.URL }}" title="Newer Posts">
                 Newer Posts <span class="arrow">→</span>
            </a>
        </span>
    {{ end }}
</nav>
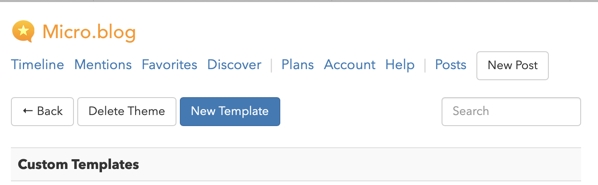
New Template button.
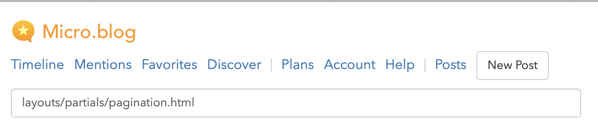
Page name.
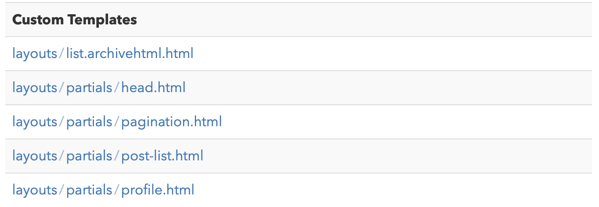
List of custom templates.
The code above links to older posts on the left and newer posts on the right. I've edited it to do that: the original linked to newer on the left and older on the right.
Paste additional code into layouts/partials/post-list.html
Note: In the Arabica theme you need layouts/_default/list.html. Other themes could name their Home Page files differently.
- Go to the page that lists all your theme files.
- Click the
layouts/partials/post-list.htmlpage to edit it. The page opens. - Scroll to the bottom. You should see something like:
{{ end }} </ul>. There’s nothing after that. That’s the code that appears in theMarfatheme, but your theme may be different. - Paste the code below.
- Click the Update Template button. The new template is saved and you’re returned to the list of templates.
The code to paste in:
<div class=“extra-pagination”>
        {{ partial “pagination.html” .}}
</div>
That piece of code calls up the other page we just created and includes it in any page a visitor is viewing, if that page is based on the template we’ve added this code in to.
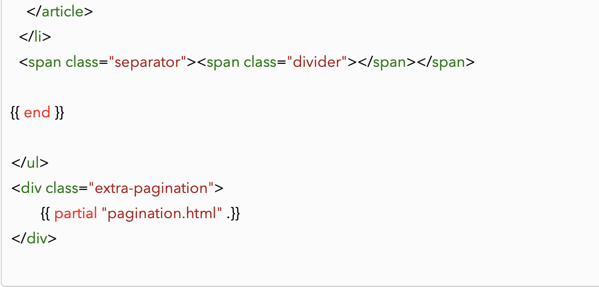
Partial included in Home Page template.
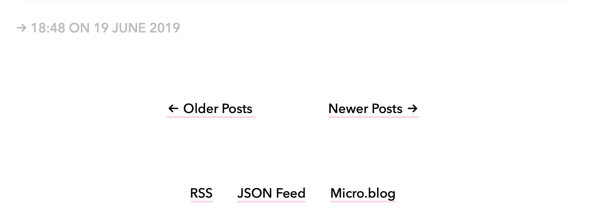
There. You’ve now added pagination to your Home Page. Visit your Home Page and refresh it to see the change. Scroll to the bottom then try out the Older Posts
and then Newer Posts
links.
You may notice though that both links appear right next to one another and it all looks a bit cramped. That’s where CSS comes in.

Our new pagination links are all jammed up together.
Style the pagination links to be centred across the page
In the code above we assigned a class to the chunk of code that contains the links: extra-pagination. We can use that to make sure the links are centred across the page. In your Custom CSS file add this:
/* Centre the pagination links /
.extra-pagination { text-align: center; }
Style the pagination links to move them apart
The two links also each had a class: older and newer.
One way to separate them is to add padding on the right or left.
In your Custom CSS file add this:
/ pad out the older and newer pagination links */
span.older { padding-right:2rem; border-right: solid #ffffff 4px; }
span.newer { padding-left:2rem; border-left: solid #ffffff 4px; }
What that does is to add a white (#ffffff) border that’s 4 pixels wide on one side. If your page background is white then that border will be invisible.
It also adds some padding to push the links apart.
You could change the colour, change the 4px border width, or change the 2rem padding to suit yourself.
Save the Custom CSS file and then check your blog.
Sometimes the hardest thing about all this is forcing your blog to refresh properly. While writing this tutorial I had to switch to a different browser and refresh there for the changed CSS to be picked up.
The Pagination links have been separated by CSS.