Add a favicon
You can do this. Follow the detailed steps carefully.
A favicon is the small image associated with a particular website. In the screenshot below you can see three browser tabs. Each tab has a small image on the left — that's a favicon. I've drawn a red box around each to help you see it.

Favicons on browser tabs.
Micro.blog uses your profile photo as a favicon which shows up in various places, for example in the Timeline in the Micro.Blog Mac app or at the top of the Home Page in some themes. Read more about the profile photo.
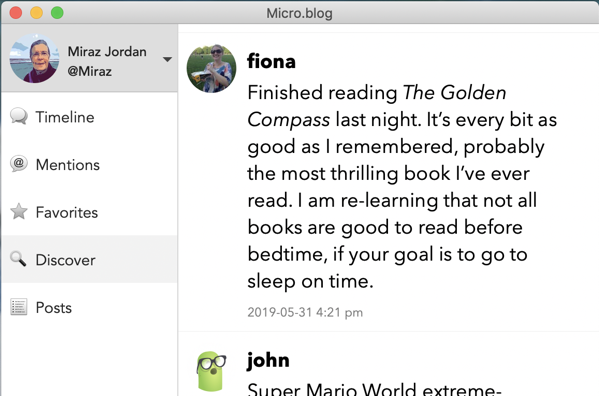
Profile pics in the Micro.Blog Mac app.
Set up a custom favicon
Use a custom favicon if you prefer — there are several steps involved:
- create a suitable square image.
- upload it and copy the address.
- edit a theme file to use the address.
- save changes.
- check.
Help! My theme doesn't have the line for a custom favicon. No problem: copy this line: <link rel="shortcut icon" href="https://{{ .Site.Author.username }}.micro.blog/uploads/yyyy/nnnnn.png" type="image/x-icon" /> and paste it in to head.html as in the screenshot below.
Detailed favicon instructions
See screenshots below the list of steps.
- MAKE AN IMAGE:
- Create and save a square image that will look good when it is tiny. Search online for sites that will turn your image into a favicon. Micro.Blog will definitely accept a
pngformat image. - UPLOAD THE IMAGE:
- Go to the Uploads area of your Micro.Blog and upload the image.
- Right-click on the image you have uploaded and choose to
Copy Image Addressfrom the contextual menu. When I did this step this address was copied:http://tewaka.micro.blog/uploads/2019/61cf20c336.png. You may like to paste the address of your image somewhere so you can find and use it again in step 4 below when you need it.
- CREATE A NEW CUSTOM THEME:
- Go to the Design section of your blog and scroll down to the Custom theme: area.
- Click on Edit Custom Themes. You’re taken to a new page with a New Theme button. (Note: if you’ve already done some work on a custom theme then any custom themes will be listed here.)
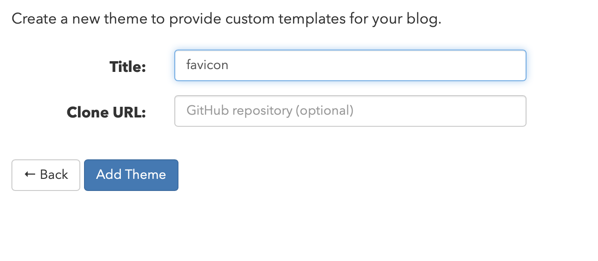
- Click the New Theme button. You’re taken to a new page with a form you use to create a new theme.
- Click in the Title: area and give your theme a name. For this tutorial you will ignore the Clone URL: field as it’s not relevant at the moment.
- Click the Add Theme button to complete this step. You’re returned to the page that lists your custom themes. You may see a warning that your blog
does not have a custom theme set
. You can ignore that until after the next steps — your new theme needs to be activated, but there’s more work to do first.
- EDIT YOUR NEW CUSTOM THEME:
- The Title area of the Custom Themes page lists all the custom themes you have. Click on the name of the theme you created in the last step. The Theme Templates page is loaded.
- The Theme Templates page lists all the files that lie behind your blog. At the bottom are templates that are used by all hosted blogs (Default Templates). Above that are the templates that belong to the theme you’ve selected for your blog. Look for the template in the upper list whose name end with
head.htmland click that template to edit it. You’re taken to a template editing page. - On the template editing page look for a line which says:
<link rel=“shortcut icon” href=“https://micro.blog/{{ .Site.Author.username }}/favicon.png” type=“image/x-icon” />. Carefully replace this part:https://micro.blog/{{ .Site.Author.username }}/favicon.pngwith the address for your favicon image. You copied that address back in Step 2 above. Be careful to keep the speech marks around the address. TIP: if the wordtype
following the image address changes from bright red to a different colour then you’ve made a mistake. Check to see all the speechmarks are still intact. - Click the Update Template button to save your changes. Your changes are saved and you’re returned to the Theme Templates page. You’ll see a new Custom Templates section at the top with one item called
layouts/partials/head.html. - Click the Back button above the list of templates. You’re returned to the Custom Themes page. You may still see the warning message mentioned above.
- SAVE THE CUSTOM THEME:
- Click the Edit Design link in the warning message. You’re returned to the
Designpage. Another way to reach theDesignpage is to click on the Posts link at the top of any behind-the-scenes page on your blog and then click the Design button. - Scroll down to the Custom theme: area and choose your custom theme from the pop-up list.
- Click the Update Microblog Settings button to save your changes.
- Click the Edit Design link in the warning message. You’re returned to the
- CHECK YOUR BLOG:
- Note: this step can take a few moments and may need a few tries as the web browser may hold onto (cache) the old favicon. Open your blog in a web browser and refresh the page. Look to see if the favicon has been updated.
- If you’ve tried several times to refresh and it doesn’t seem to have worked then try a different web browser or a Private Window in your web browser. Try visiting a different page on your blog. Try refreshing a few more times.
- If you’ve tried repeatedly and it’s still not working you may need to look again at your custom template and confirm the image address is correct. Try going directly to that image address in your web browser and make sure you’re seeing your new favicon.
- If everything you try fails then join the free Micro.Blog Slack group and ask for help. The folks on there are friendly and should be able to give good advice with troubleshooting.
If you’re seeing your new favicon in the right places then congratulations! It took a bit of work, but now your blog has a unique image to identify it.
Screenshots
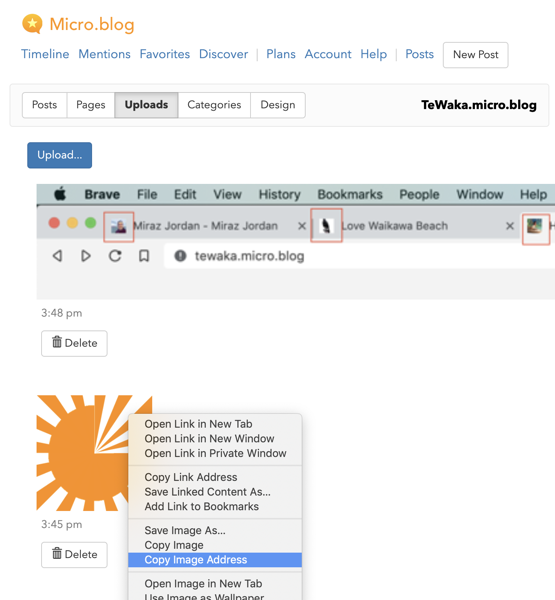
Upload the picture and copy the address.
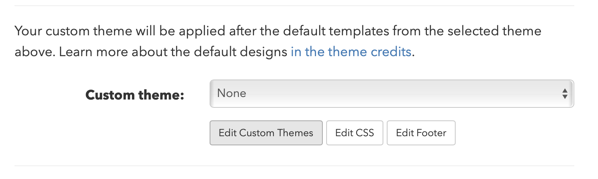
Click on Edit Custom Themes.
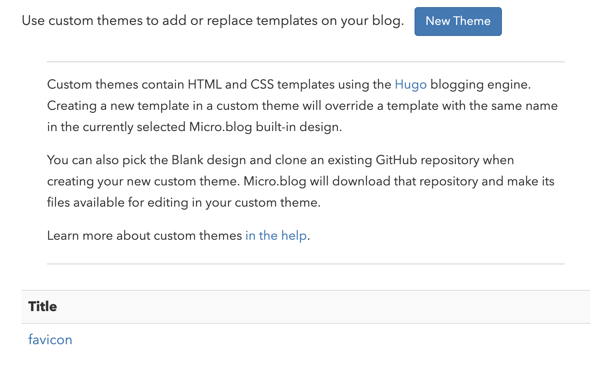
New Theme page. I already have a custom theme called favicon. I could edit the favicon theme by clicking its name.
Name the new theme.

No custom theme has been set.
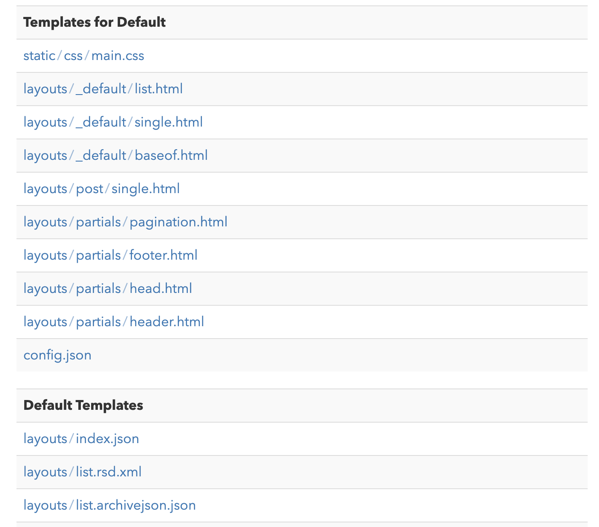
Themes templates list. In this screenshot the blog is using the Default Theme, so the list at the top (Templates for Default) is the templates specific to my theme. The list at the bottom (Default Templates) is of templates used by all hosted blogs.
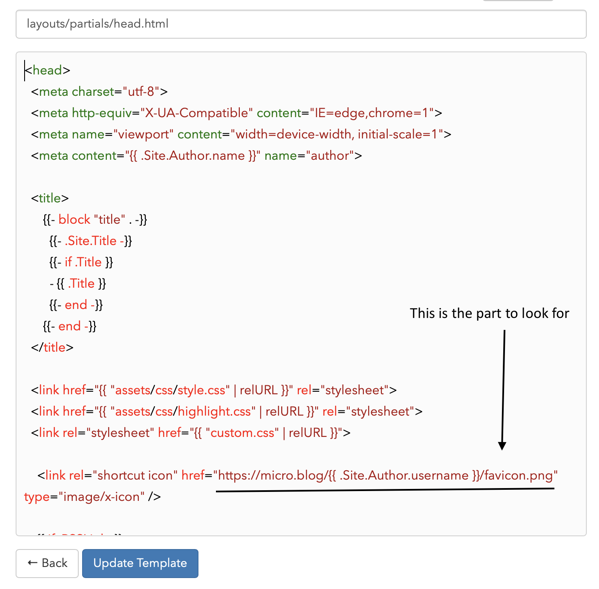
Edit head-html template.
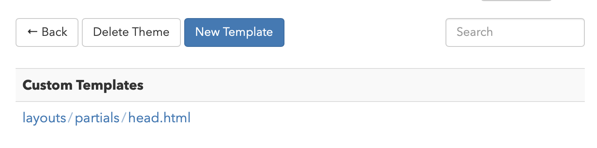
The newly created template appears in the Custom Templates section.
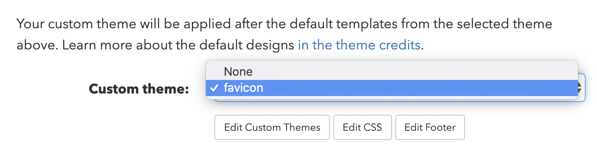
Select a custom theme.

New favicons in 2 tabs. While writing this tutorial I changed the favicon for this blog and for my private blog. In the screenshot you can see my old favicon on the left and the new one in the next tab. You can also see the new favicon for this blog on the right. Compare this screenshot with the one at the top of the page.